Planning & Design

Planning a bathroom sink cabinet is like designing a mini-mansion for your toiletries – you gotta think about space, style, and functionality, Medan style! We’re aiming for a sturdy, easy-to-build cabinet that’ll last. Think simple, clean lines, and enough space for all your bathroom essentials.
Basic Cabinet Plan
Let’s imagine a standard bathroom sink, about 24 inches wide. Our cabinet will be slightly wider, around 26 inches, to allow for comfortable access and some breathing room. The depth will be 18 inches, perfect for standard plumbing, and the height will be 30 inches – tall enough to comfortably store everything. We’ll use ¾-inch plywood for its strength and durability. The style will be a simple box design, with a door and possibly some shelves. This allows for easy construction and modification if you’re feeling extra creative. We can paint it a nice, refreshing color later.
Parts List
This list assumes a simple box design with a single door. Adjust quantities as needed for more complex designs.
| Material | Quantity | Tool | Step |
|---|---|---|---|
| ¾-inch plywood sheets | 2 | Measuring tape, pencil | Measure and cut plywood according to dimensions. |
| 1×2 inch pine boards | 8 feet | Miter saw, circular saw | Cut boards for cabinet frame. |
| Wood glue | 1 bottle | – | Apply glue to joints. |
| Wood screws (1 ½ inch) | Box of 50 | Drill, screwdriver | Secure frame and plywood with screws. |
| Cabinet hinges | 2 | – | Attach hinges to door and cabinet. |
| Cabinet knob/handle | 1 | Screwdriver | Install knob/handle. |
| Wood stain/paint | 1 can | Paintbrush, roller | Finish the cabinet. |
Step-by-Step Construction Plan
A detailed drawing is essential. Start with a simple sketch, including all dimensions. Label each piece (front, back, sides, top, bottom, shelves, door). Indicate the locations of screw holes, hinges, and handles. Use a ruler and pencil for precision. Transfer the sketch onto the plywood sheets before cutting. Accurate measurements are key to a successful project. Don’t forget to account for the thickness of the wood when calculating dimensions! For example, if you need a 24-inch wide cabinet, you might need to cut the plywood pieces slightly wider to account for the thickness of the sides.
Construction & Assembly

Alright, Medan style, let’s get this cabinet built! We’ve planned it out, now it’s time to get our hands dirty. Remember, accuracy is key here, especially with those measurements. A little bit off can throw the whole thing out of whack, so let’s be meticulous.
Cutting the Wood
Precise cutting is crucial for a perfect fit. Use a high-quality measuring tape and a sharp saw (circular saw or miter saw are recommended for straight cuts). Always measure twice, cut once – it’s a classic for a reason! Account for the thickness of your saw blade when measuring; you don’t want your pieces too short. For example, if your blade is 1/8 inch thick and you need a 24-inch piece, measure 24 1/8 inches. If you’re working with plywood, consider the direction of the wood grain for stability and to avoid splintering. For complex cuts, a jigsaw might be helpful, but practice on scrap wood first to get a feel for it. Don’t be afraid to make test cuts; it’s better to waste a bit of wood than to ruin a perfectly good piece. Small adjustments can be made with a hand plane or sandpaper, but aim for accuracy from the start.
Assembling the Cabinet Frame
The strength and stability of your cabinet depend heavily on the frame construction. We’ll explore a few common methods. Dado joints are great for strength and clean look, offering a strong interlocking connection. Rabbet joints are also strong and can be easily created with a router or table saw. Dowel joints are simpler but require precise drilling. Screws and wood glue are essential for reinforcement regardless of your chosen joint type.
- Step 1: Prepare the Joints: Cut your chosen joints (dado, rabbet, or dowel) into the appropriate pieces of wood according to your design. Ensure all joints are precisely aligned.
- Step 2: Dry Fit: Before applying glue, assemble the frame without glue to check for fit and alignment. Adjust as needed. This is your chance to catch any errors before they become permanent.
- Step 3: Apply Glue and Fasten: Apply wood glue to all joint surfaces. Clamp the frame tightly together, ensuring square corners. Use screws to reinforce the joints for extra strength and stability. Let the glue dry completely according to the manufacturer’s instructions.
- Step 4: Check for Squareness: Once the glue is dry, check the squareness of the frame using a square or measuring tape. Make any necessary adjustments.
Installing Doors and Drawers
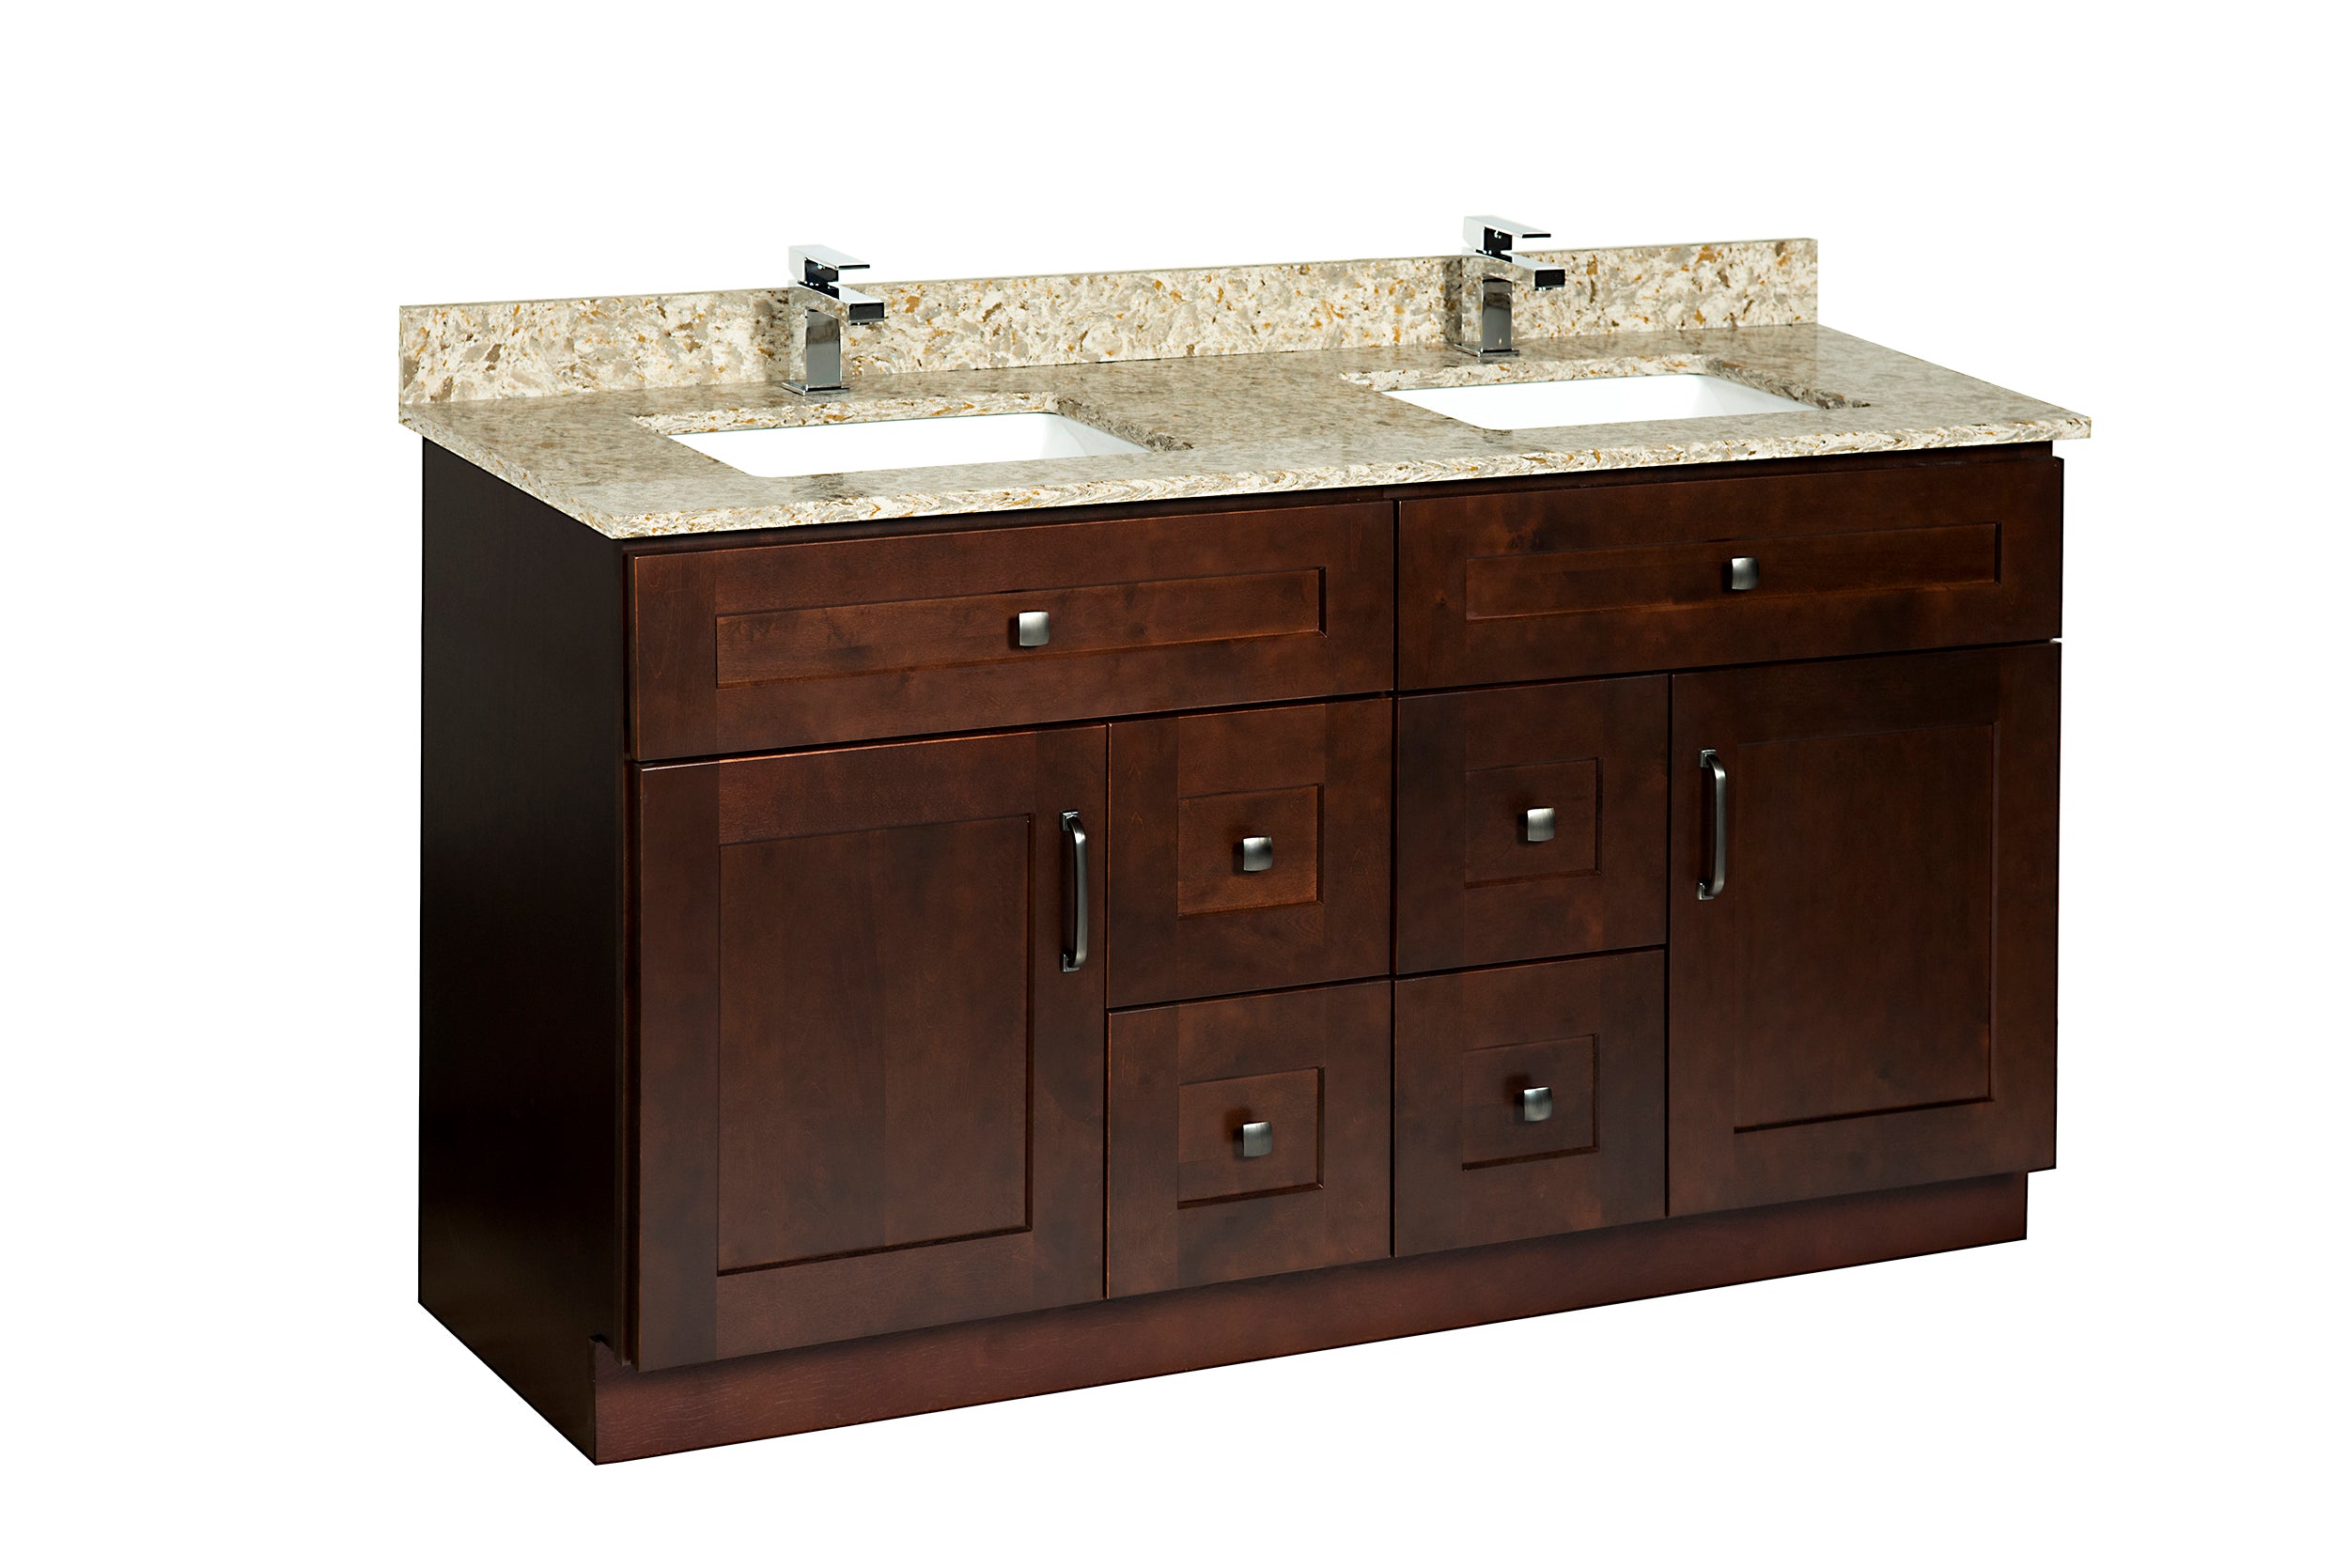
Choosing the right doors and drawers is important for both functionality and aesthetics. Consider shaker style for a classic, clean look, or raised panel for a more traditional feel. For a modern bathroom, sleek, frameless doors might be the perfect choice. The material should be water-resistant, such as melamine or solid wood with a good sealant.
- Step 1: Hardware Selection: Choose hinges and drawer slides appropriate for the weight and style of your doors and drawers. Hidden hinges provide a clean, modern look.
- Step 2: Door and Drawer Installation: Install hinges and drawer slides according to the manufacturer’s instructions. Ensure the doors and drawers open and close smoothly.
- Step 3: Alignment and Adjustment: Fine-tune the alignment of doors and drawers to ensure they are flush with the cabinet frame and open/close properly. Adjust hinges and slides as needed.
Finishing the Cabinet
Finishing protects your cabinet from moisture and gives it a polished look. For a bathroom, water resistance is paramount.
- Step 1: Sanding: Sand the entire cabinet with progressively finer grit sandpaper to achieve a smooth surface. Pay attention to corners and edges.
- Step 2: Priming: Apply a high-quality primer designed for wood. This will create a uniform surface for the topcoat and improve adhesion.
- Step 3: Topcoat Application: Apply your chosen finish (paint, stain, or varnish) in thin, even coats, allowing each coat to dry completely before applying the next. Follow the manufacturer’s instructions for drying times and number of coats.
Finish Comparison
| Finish Type | Durability | Water Resistance | Aesthetics |
|---|---|---|---|
| Paint | High (depending on type) | High (with appropriate sealant) | Versatile; many color options |
| Stain | Medium | Medium (requires sealant) | Enhances wood grain; natural look |
| Varnish | High | High | Clear finish; shows wood grain |
Installation & Refinement: How To Build A Cabinet Under Bathroom Sink

Alright, so you’ve built your awesome bathroom sink cabinet. Now it’s time to get it in place and looking spiffy! This part’s all about getting it snug and making it your own. We’ll cover how to install it, make adjustments, and even add some extra features to make it truly Medan-style fabulous.
How to build a cabinet under bathroom sink – Installing your new cabinet is pretty straightforward, but remember to always prioritize safety. Before you even think about lifting, make sure you have a helper. This is especially important if your cabinet is heavy or awkward. And, always wear appropriate safety gear, like gloves, to protect your hands.
Securing the Cabinet, How to build a cabinet under bathroom sink
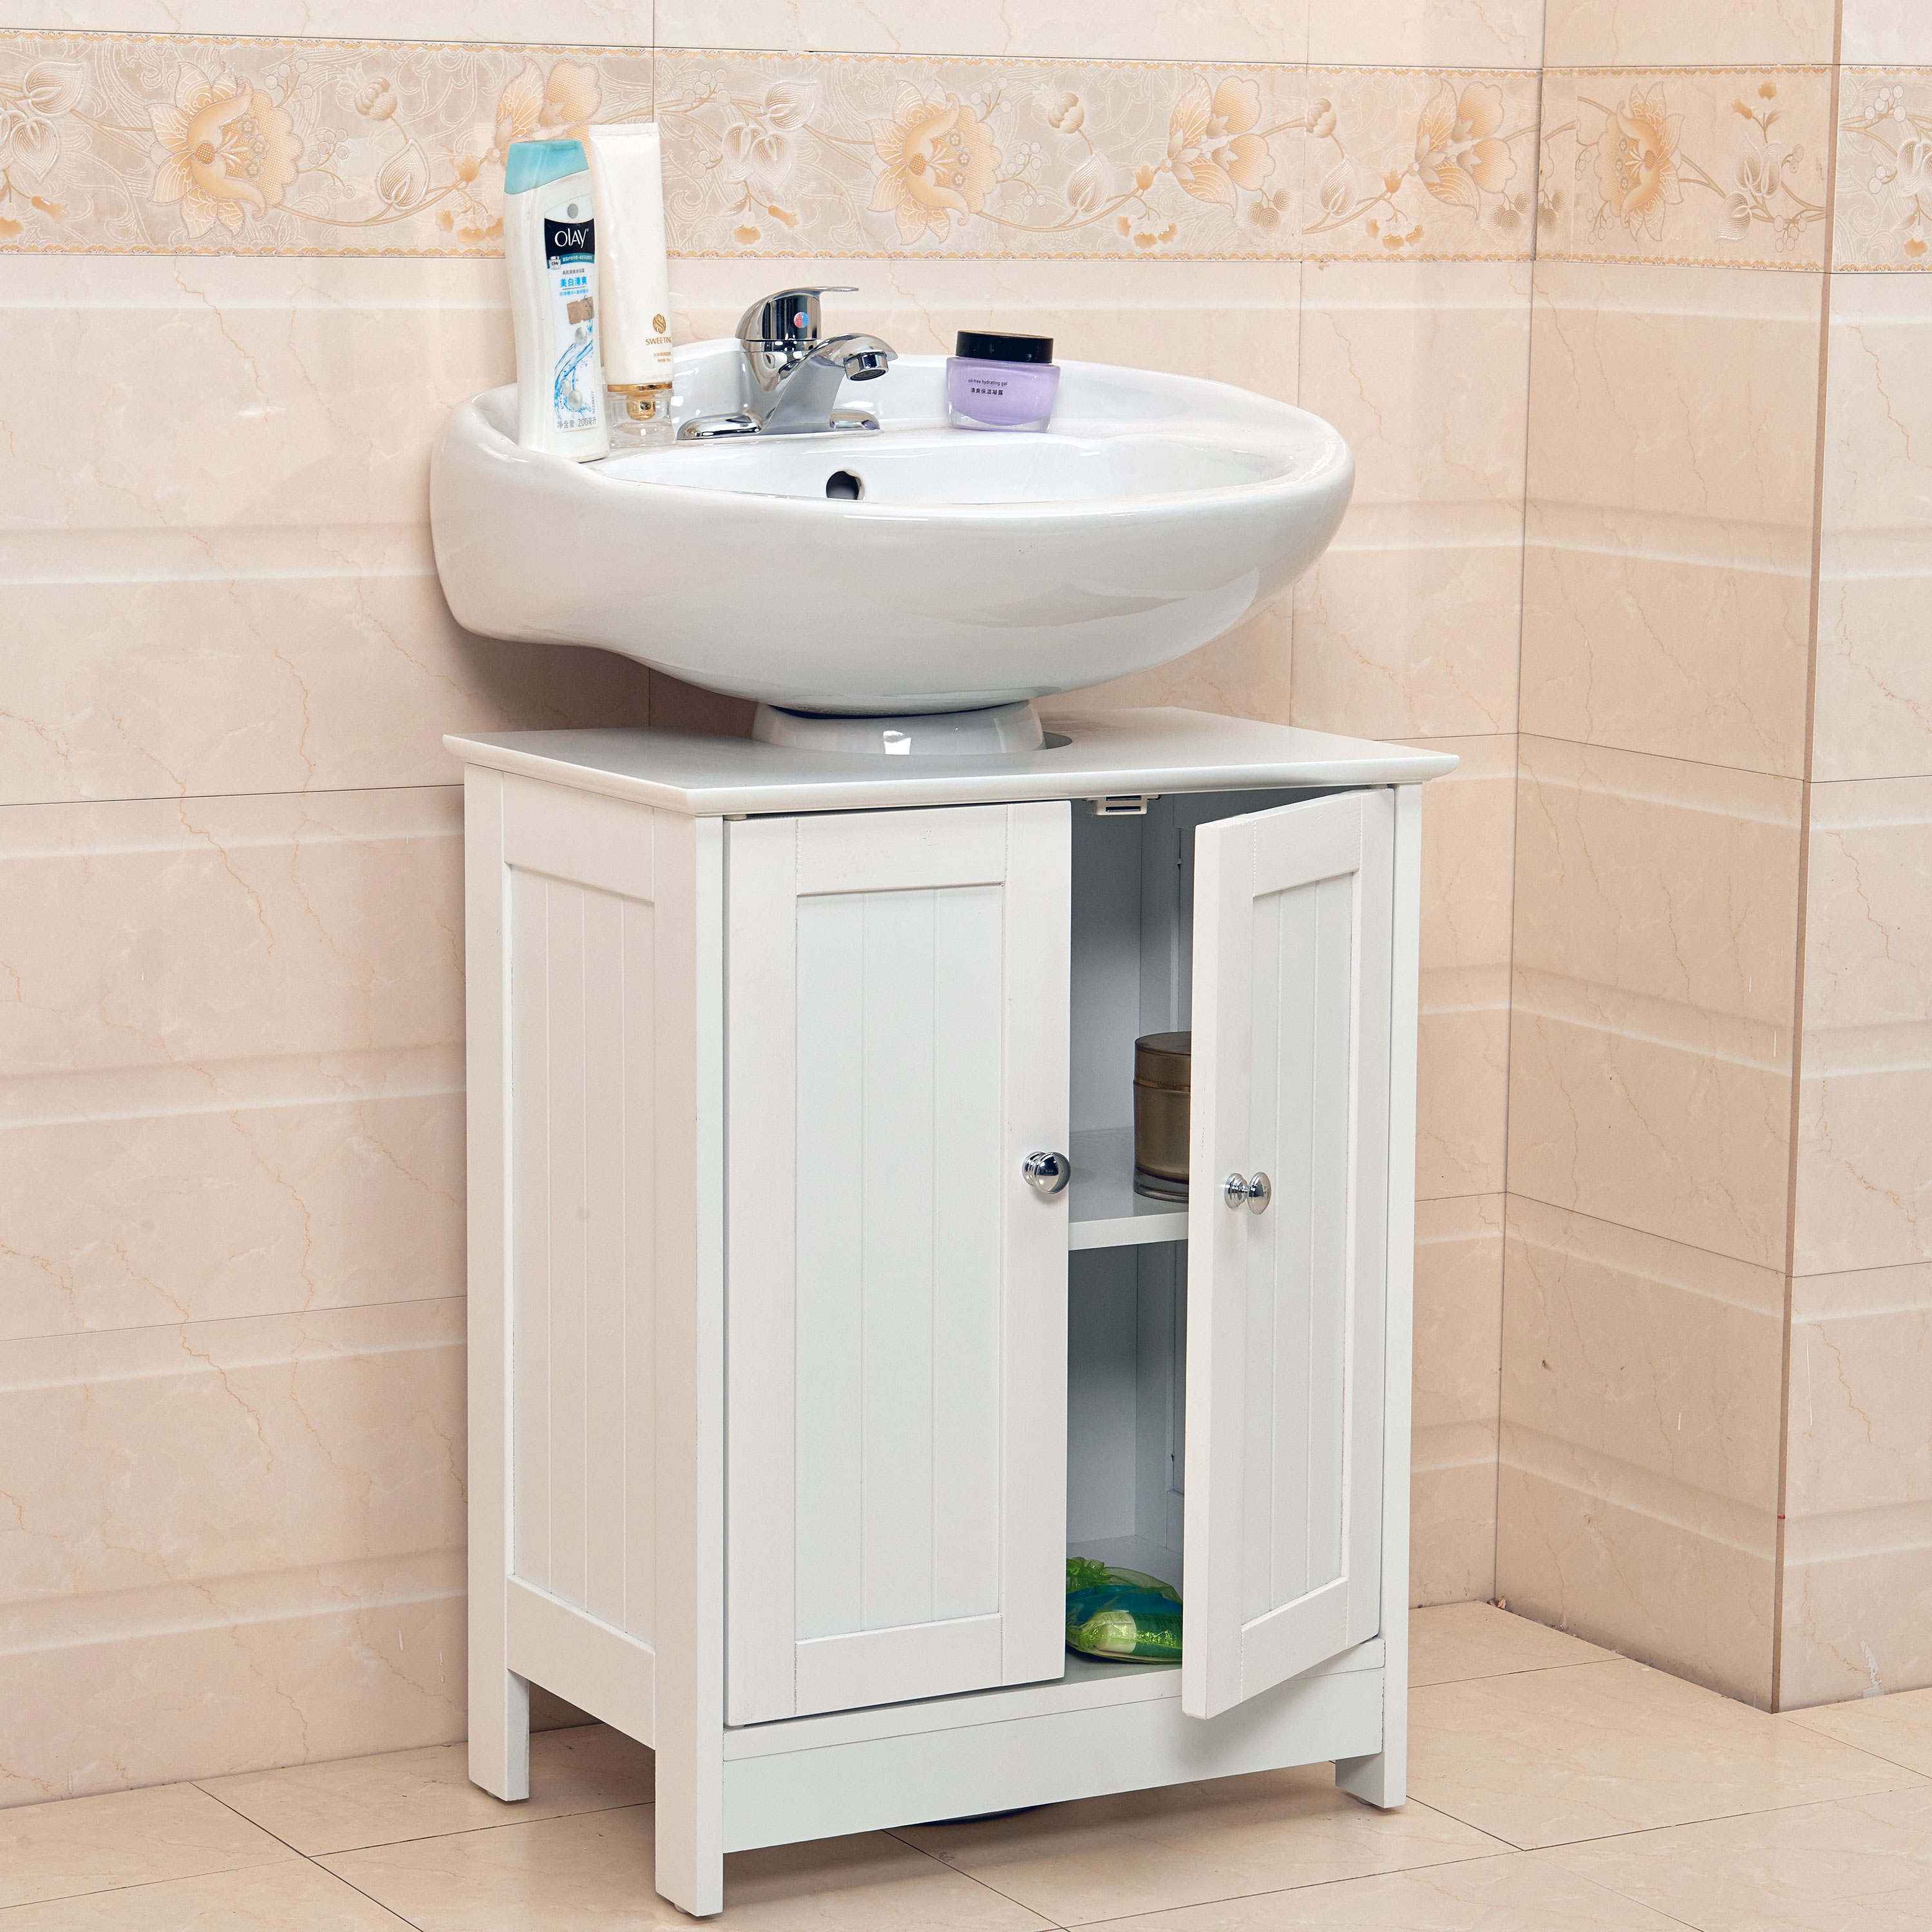
Positioning your cabinet is key. Carefully slide it into place under your sink, ensuring it’s level and sits flush against the wall. Most cabinets will have pre-drilled holes for mounting. If not, you’ll need to mark and drill them carefully. Use appropriate wall anchors depending on your wall type – drywall requires different anchors than concrete, for example. Once the holes are in, use screws to secure the cabinet firmly to the wall. Remember to check for plumbing access before screwing anything in permanently – you don’t want to block your pipes!
Adjusting for a Perfect Fit
Even the most carefully measured cabinet might need a little tweaking. If there are any gaps, you can use shims – thin pieces of wood – to fill them. These are placed between the cabinet and the wall to ensure a snug and level fit. Small adjustments to screw placement can also help you achieve perfect alignment. Don’t force anything – if you’re struggling, double-check your measurements and make minor adjustments until everything fits perfectly. A perfectly fitted cabinet looks far more professional and avoids future problems.
Adding Extra Features
Now for the fun part! Let’s add some personality and functionality. Adding shelves, drawers, or organizers can transform your simple cabinet into a highly efficient storage solution. For example, you could install simple floating shelves using L-brackets and strong adhesive. For drawers, you’ll need to purchase pre-made drawer slides and drawer boxes that fit your cabinet dimensions. Measure carefully! Organizers, such as spice racks or drawer dividers, can be easily purchased and installed to maximize space and keep things tidy. These additions require basic tools like a screwdriver and a measuring tape.
Example: Installing a Simple Shelf
Let’s say you want to add a simple shelf. You’ll need a piece of wood cut to fit the width of your cabinet, a couple of L-brackets, and screws. Measure the desired shelf height and mark the locations for the brackets on both the cabinet sides and the shelf. Securely attach the brackets using screws. Then, carefully place the shelf onto the brackets, ensuring it’s level and stable. You can even paint or stain the shelf to match your cabinet for a cohesive look.
